Remote desktop access with NoMachine: Difference between revisions
No edit summary |
No edit summary |
||
| Line 1: | Line 1: | ||
[[Category:remotexs-faq]] | [[Category:remotexs-faq]] | ||
'''Make sure your account name (P-nummer) is listed in the file /etc/users_allowed_ssh'''. You can edit this file only when logged in using the physical keyboard of the computer. | |||
Download and install the NoMachine Enterprise Client for your system:<br> | Download and install the NoMachine Enterprise Client for your system:<br> | ||
Revision as of 14:37, 26 September 2024
Make sure your account name (P-nummer) is listed in the file /etc/users_allowed_ssh. You can edit this file only when logged in using the physical keyboard of the computer.
Download and install the NoMachine Enterprise Client for your system:
https://www.nomachine.com/download-enterprise#NoMachine-Enterprise-Client
Note: The normal client will also install a NX server on your machine, so unless you want remote desktop access to your own PC as well, use the enterprise client.
After you've installed the NoMachine client, open it and add a new connection.
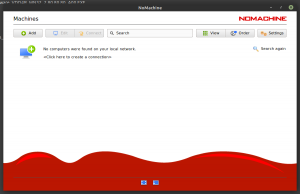
Enter a Name for the connection and add the hostname or IP number for the Host you are trying to connect to.
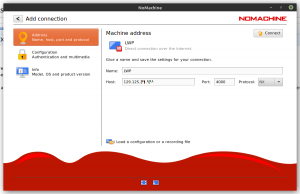
- Port = 4000
- Protocol = NX
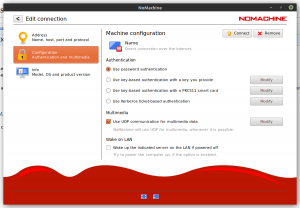
Next select Configuration. Make sure Use password authentication is selected and Use UDP communication for multimedia data is checked.
Click Connect.
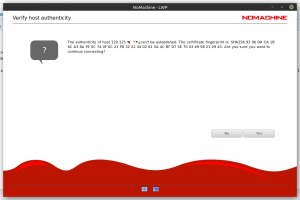
The Verify host authenticity will only appear the first time you connect to your host or if you reinstall the host. If it does appear a second time on the same host, do not continue, this might indicate malicious activity on the host system and you should call support.
Click Yes to verify your hosts identity.
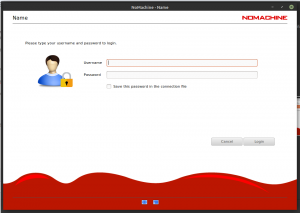
Enter your Username and Password and click Login. Don't save your password if you're on a shared PC.
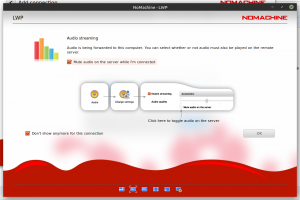
Hit the checkbox to mute audio on the remote host.
Hit the checkbox at the bottom left so this message does not appear again. Hit OK.
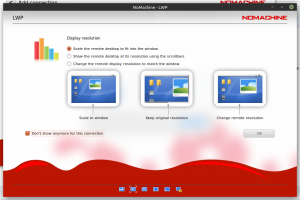
Select Scale the remote desktop to fit into the window.
Hit the checkbox at the bottom left so this message does not appear again. Hit OK.
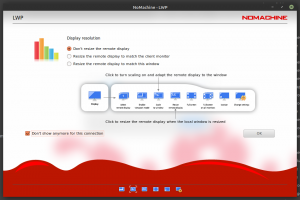
Select Don't resize the remote display.
Hit the checkbox at the bottom left so this message does not appear again.
Hit OK a last time to connect to the desktop of your remote host.
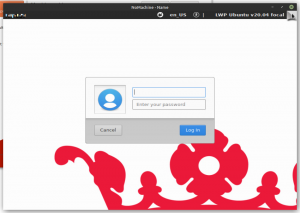
Now you can login as you would normally login on your LWP.
If you want to change any of the connection settings, hover over the top right corner of the window until it folds down and then click it.