Remote desktop access with NoMachine: Difference between revisions
Jump to navigation
Jump to search
No edit summary |
No edit summary |
||
| Line 8: | Line 8: | ||
After you've installed the NoMachine client open | After you've installed the NoMachine client, open it. | ||
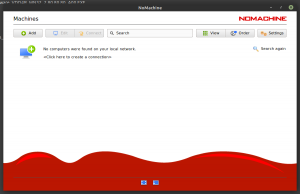
[[File:NX first screen.png|thumb|none|Initial screen]] | |||
<Click here to create a new connection> | <Click here to create a new connection> | ||
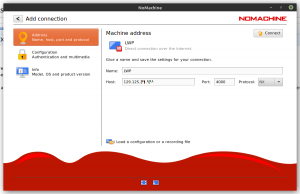
[[File:NX | [[File:NX add connection.png|thumb|none|Add connection]] | ||
Name = something identifiable | Name = something identifiable | ||
Revision as of 13:32, 16 July 2021
Under Construction
Download and install the NoMachine Enterprise Client for your system. You can download the NoMachine Enterpise Client here:
https://www.nomachine.com/download-enterprise#NoMachine-Enterprise-Client
Note: The normal client will also install a NX server on your machine, so unless you want remote desktop access to your laptop or home PC as well, use the enterprise client.
After you've installed the NoMachine client, open it.
<Click here to create a new connection>
Name = something identifiable Host = 129.125.21.129 Port = 4000 Protocol = NX Click connect
Verify Host Authenticity Click Yes
Enter username + password

